Welcome to Science Expeditions Extras!
Dive deeper into your science kit’s theme and experiments. This month, learn a little extra about vision and optics.
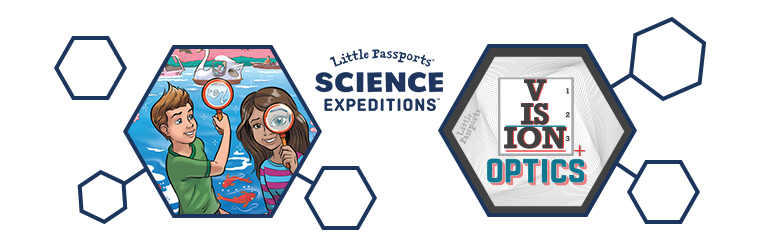
Vision & Optics
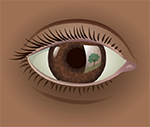
 How do we see? The great thinkers of the ancient world thought a “flame of life” burned within each of us. They reasoned that the glow from that internal flame shot out of our eyes, bathing everything in light, allowing us to see the world around us. Today, we know it’s the other way around: We see light that comes into our eyes, not out of them. We also know that vision is more than just what our eyes do. Our eyes may let in the light, but it’s our brain that figures out what we’re seeing.
Learn more about how the brain and eyes work together by completing your experiments. Use Aunt Charlie’s tips below to guide you. If you need more help, watch a tutorial video on how to build your camera obscura. Test your depth perception in a fun printable activity and keep your eye out for more optical illusions to explore.
Gather these household items from the list below before you begin your experiments. Check off items as you go or print the list here. All other materials are included in your kit.
Seeing Things
pencil or pen
scissors or craft knife
clear tape
dark tape, paper or fabric (optional)
Blended Pictures
ruler
scissors
coloring supplies
clear tape
Phantom Colors
black marker
Fun Facts
A newborn baby’s eyes cannot produce tears or see colors. When they cry, they make noises, but tears don’t form until they are 4 to 13 weeks old. Around 5 months of age, they begin to see colors!
Optic nerves attach to the back of your retinas, creating tiny blind spots in each eye. Your eyes (and brain) work together to compensate for this so you never end up seeing the hole in your vision.
There are cameras on the moon! After taking pictures of the moon’s surface, astronauts abandoned the cameras to allow for space to carry back lunar rock samples to Earth.

Aunt Charlie’s Corner
Expert tips to complete this month’s science experiments!
 Seeing Things
Watch this experiment!
- When necessary, use a soft cloth to clean off the lens and remove smudges.
- The camera obscura works best in complete sunlight outside. Remember not to point your camera directly at the Sun.
- Take your time adjusting the vellum sheet to get it into focus as much as possible. The image may not be crystal clear.
- Cutting your cardboard box may be difficult; ask an adult for help.
- You may not need all the clay provided around your lens; discard or repurpose excess clay with step below.
- Transform your camera obscura into a projector with a smartphone. Load a high-contrast image onto the phone’s screen and replace the vellum with the phone. Use the excess clay to hold the phone in place. In a dark place, point the lens at a blank wall and move the box around until your projected image is focused and the size you want it to be.
 Blended Pictures
- Try out these ideas for your flipper templates: bird in a cage, fish in a bowl or letters combining into words.
- Cutting your cardboard box may be difficult; ask an adult for help.
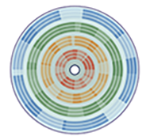 Phantom Colors
- On the blank disks, use a new permanent black marker for best results.
- On the blank disk, try different swirls and other high-contrast images to create your own illusions.
Print and Play
Learn about depth perception in this hands-on activity.